Using Negatives and view finders
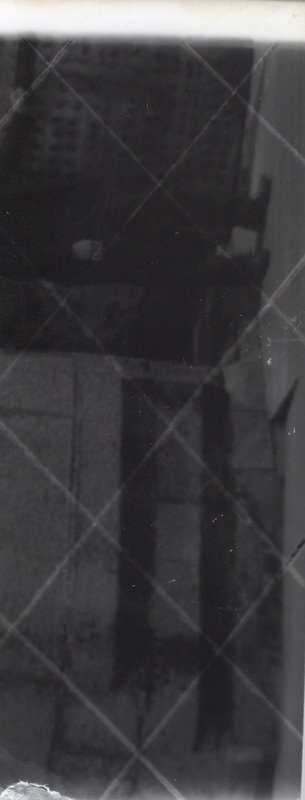
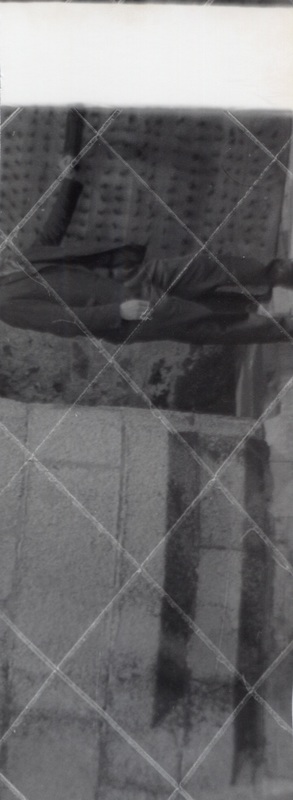
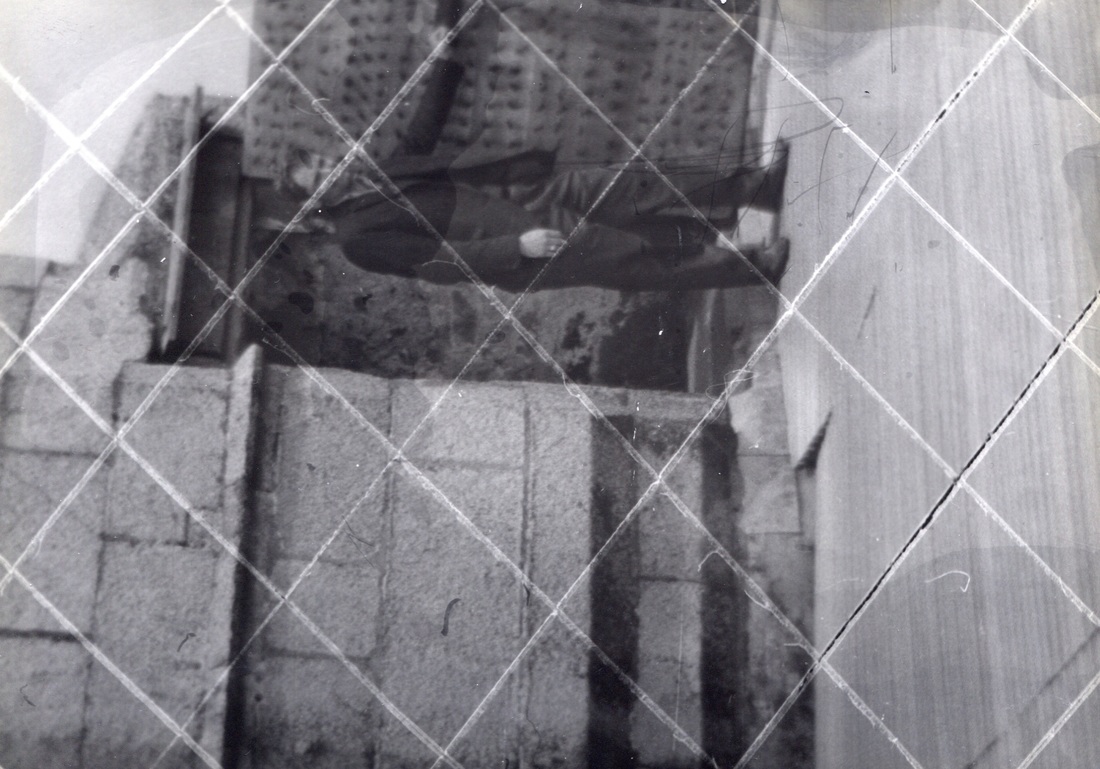
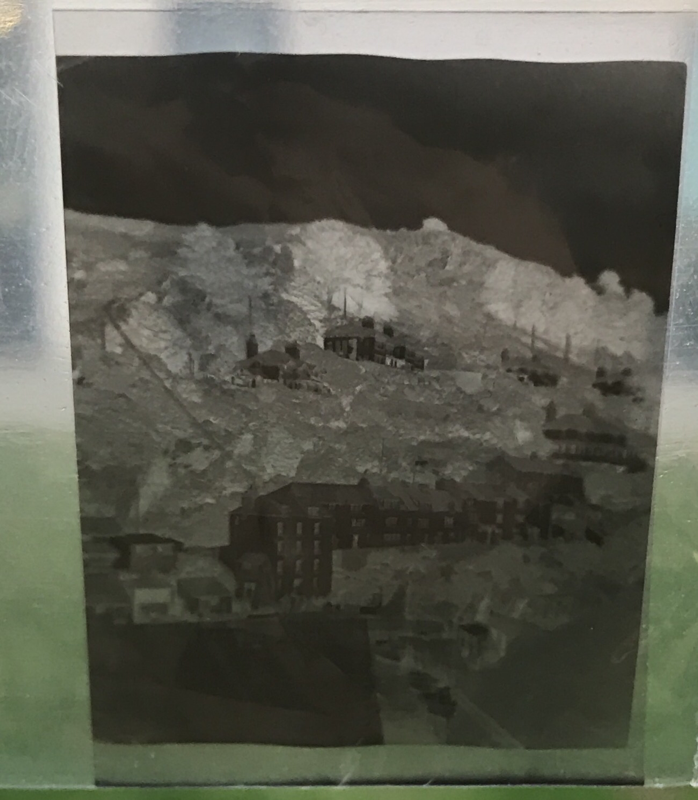
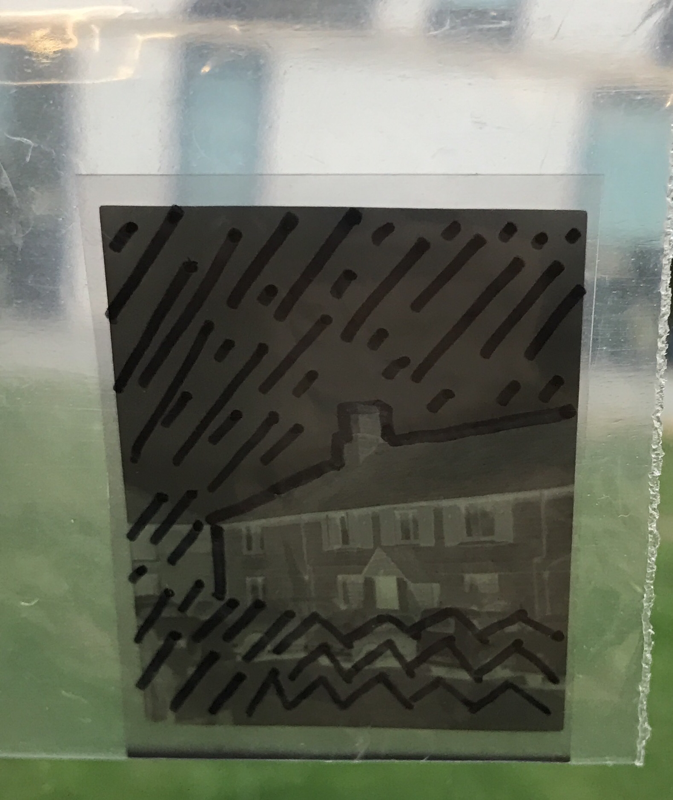
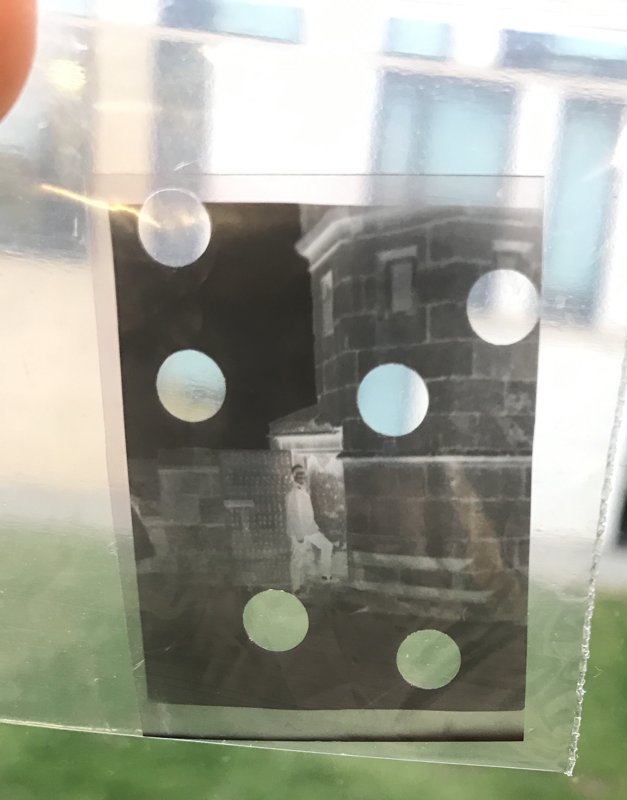
When I received my strip of negatives the first thing I did was cut them into four individual photos so I had four negatives to work with. I then choose one that I wanted to leave untouched and put it to one side. With the first negative out of the three I used a scalpole then slice in diagonals through the negative and this left scratched squares on my negative. For my second negative I used the hole punch and spotted random holes on this negative as I wanted to see what this would do when I placed it in the enlarger. For my last negative I got a sharpie pen in black and drew lines around a house; I did this because I wanted the house to be the main focus of my picture.
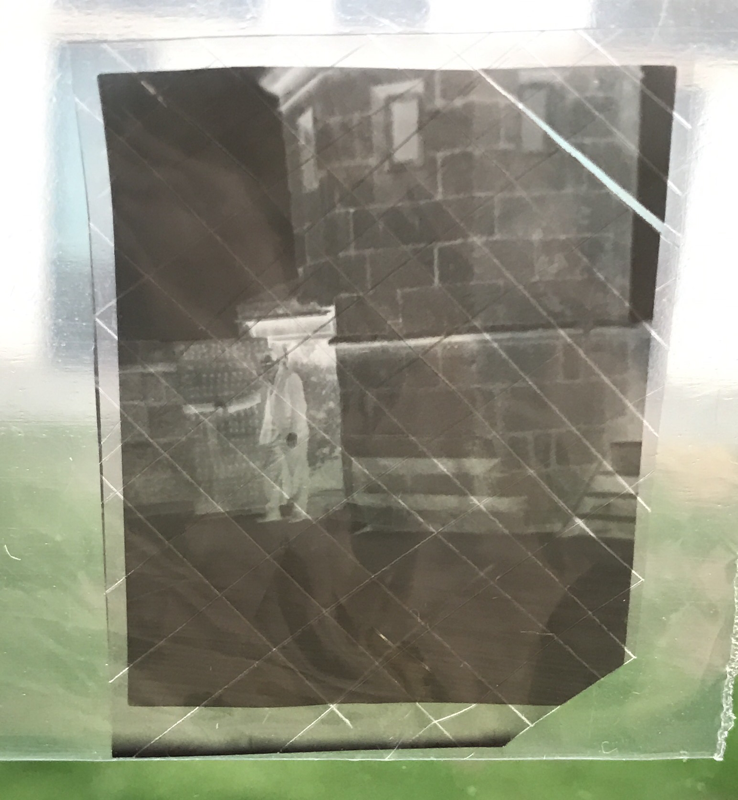
I took my negatives into the dark room and choose to try and enlarge/ develop the one with the scratches in it. At first I used strips of photographic paper to see how much light intensity and time my negative needed to be exposed for. For my first strip I used the highest light intensity on my enlarger which was a aperture of 4.6 and exposed it for 5 seconds. Once this had developed I decided that it was too dark and I needed to put the light intensity lower. I then did my second strip and put the aperture on 5.6 but still left it for 5 seconds. This caused my strip to be lighter and the image was clearer. I decided that this was what I wanted my big piece of photographic paper to look like and so I used the same aperture and time as my second strip. I believe my negative came out really well on my big piece of photographic paper as the image is very clear and not too dark. However, another downfall was my placement of the first two strips as it left a purely over exposed white strip which meant I needed to get more of the image onto the paper to stop this from happening.